Making Extension Wire
Teachers take you to Beitou community college classes, we are all electrical repair class, taught us is a Tang teacher, looks very good, so I had to relieve nervousness down, he first issued the invite students to help diagonal pliers, needle nose pliers and Phillips screwdrivers and other tools, so we started doing "an extension cord."
I feel very excited because this is my first attempt to do about power supplies, hair teacher plugs, sockets, and after a good pre-cut wires, invited us to turn down the screws on the plug with a Phillips screwdriver, and then open the lid, I quickly completed these actions, we quickly asked the teacher to the next step, Tang teacher went on to say, put the wire in the middle recessed areas with diagonal pliers to cut, cut about 4 to 5 cm long, and then use the principle of leverage to cut it in two, after mutual friction between the wire, outside the protection of the copper cap is relatively easy to fall off, so the inside of the copper is exposed. This step may seem simple, but it is not easy to do, I do it part time, several times as much to the strength of the copper wire broke, had to ask for help next to my uncle to redo it again, and finally the wire ends of the sleeve are pull down, let me relieved.
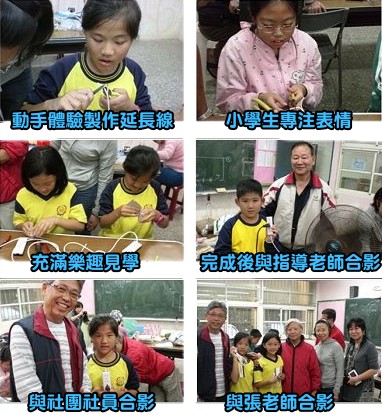
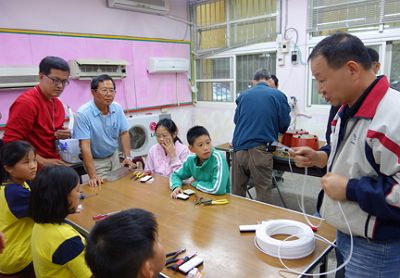
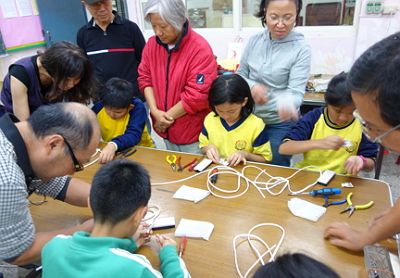
Tang teacher asked us to turn copper all together, do not spread, he said that if the spread, then there may not be able to pass electricity, and finally, we turn down the screw jack, also put in a plug socket and turn the screws a little loose, then concave copper sets up a counter-question mark, locking screws inside and outside of the cap screws, extension cords is complete, look at their own hands to create an extension cord, was both joy and happy, to feel a sense of accomplishment .
Today's lesson I learned a lot about the power of things, not only made himself an extension cord, also learned some safe use of electricity, really pleased to have such a valuable experience, so I can not forget.
Decoupage DIY
"Decoupage" is a French verb, meaning to cut beautiful graphics, collage decoration on furniture or furniture items, showing creative design decorative arts. Butterfly is in Europe and home life, dining napkin necessary patchwork cut or glued on decorations are made of wood art.
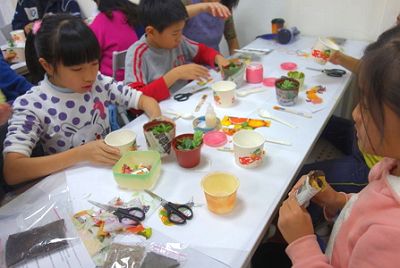
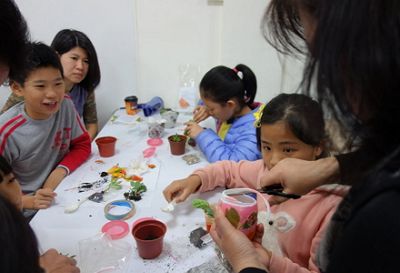
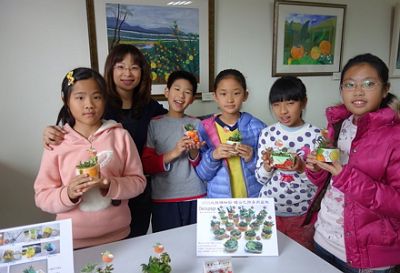
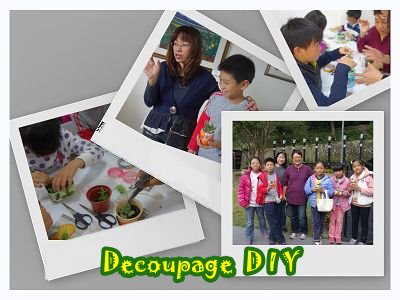
Today we went to do DIY Beitou civic hall "Butterfly Valley Bart small pot" and we are ready to install the first flowers of the container, that container can be recycled container pudding boxes, cans and other cans in the bottom of the container several drill when watering holes can allow more water flow out. In the classroom, the teacher taught us how to acrylic color on the container, I told my sister to work together in three different colors painted on a small vessel, after the color of the finish with a hair dryer, a collage stickers come with a good cut the variety of restaurants paper pattern on the paint, primer, paint dry subsoil after the beginning of the filling inside the container, planting succulents, finally filling the upper soil is complete.
2015 Li-Nong Elementary School , Taipei , Taiwan - Recycle Pioneer
wwh@cc.lnes.tp.edu.tw


